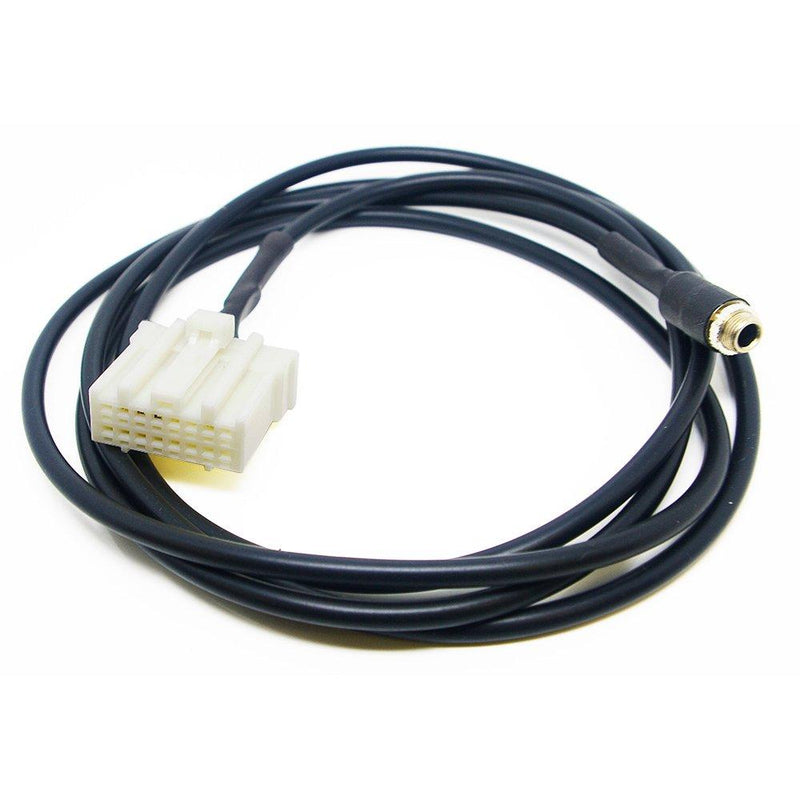
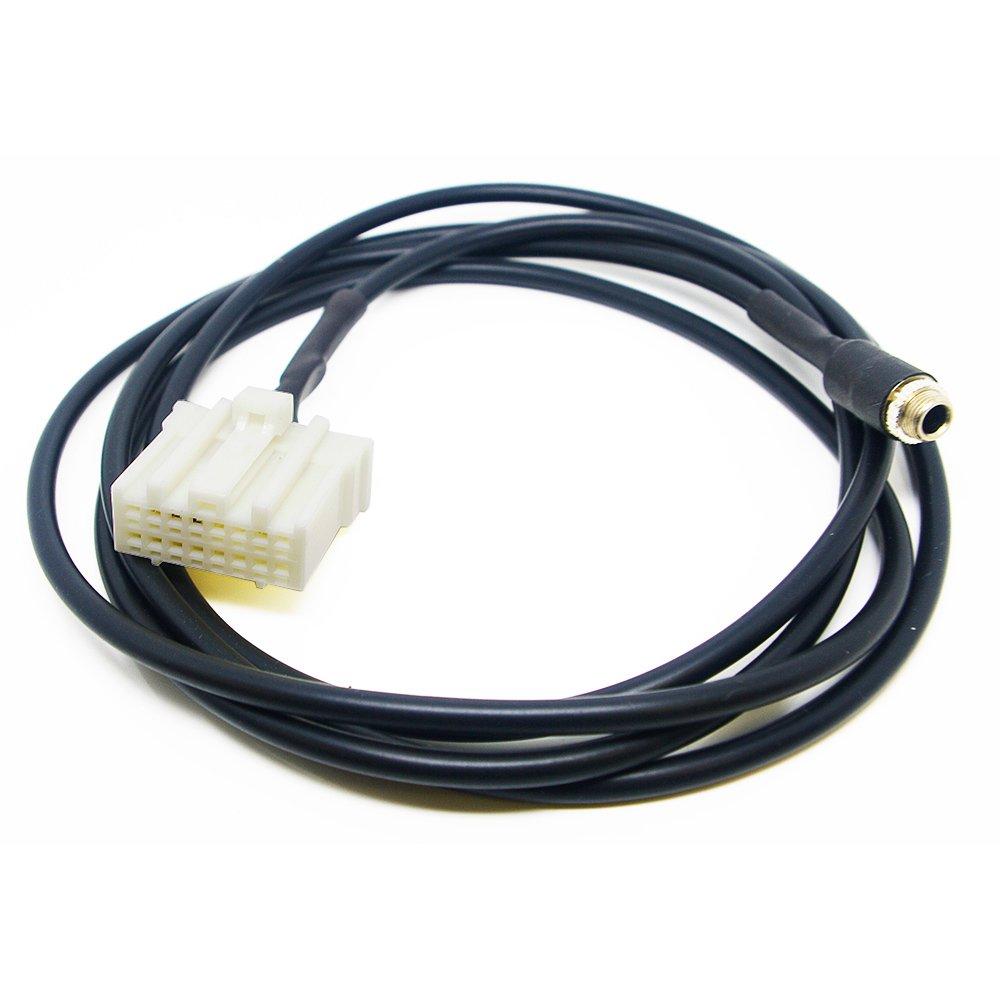
Aftermarket Double Din Radio Installation Dash Kit Bezel + Standard Wire Harness & Antenna Adapter Compatible with Jeep Liberty 2003-2007


Aftermarket Double Din Radio Installation Dash Kit Bezel + Standard Wire Harness & Antenna Adapter Compatible with Jeep Liberty 2003-2007
Finally a Double Din Radio installation solution is in reach without having to pay tons of money for a custom handmade kit (these cost upwards of $349)!!! Installation Directions: 1. In the lower pocket area remove the one screw located in the center 2. Pry out on the factory bezel and separate it from the dash 3. Disconnect AC harness and the cigarette lighter 4. Remove the 4 Philip screws that hold the radio in place 5. Pull radio forward and disconnect the wire harness and antenna 6. Unmount the AC system from the factory bezel by removing the 4 Philip screws 7. Reattach that to the new double din bezel 8. Remove the old factory cigarette lighter and install on new double din bezel 9. Slide out the pocket liner and install on the new double din bezel 10. Remove radio supports by removing the 4 Philips (see picture gallery) 11. Use a drimmel or other plastic cutting device to remove the necessary plastic from the inside of the dash (see picture gallery) 12. Take the new bezel brackets and loosely attach to the new double din bezel 13. Dry fit your aftermarket double din radio into the bezel and remove/add any necessary trim rings/cages 14. Then line up aftermarket radio with the brackets and loosely screw through the brackets into the radio 15. Slide the aftermarket radio forward and back until you achieve a clean finish 16. Making sure the aftermarket radio is its square tighten all screws 17. Wire in the aftermarket radio to the aftermarket harness 18. Install antenna adapter 19. Reconnect the AC controls and lighter button with harnesses in the dash 20. Plug aftermarket wire harness into the factory radio harness. 21. Snap bezel into place and secure final screw in lower pocket area.
- n
Related Products
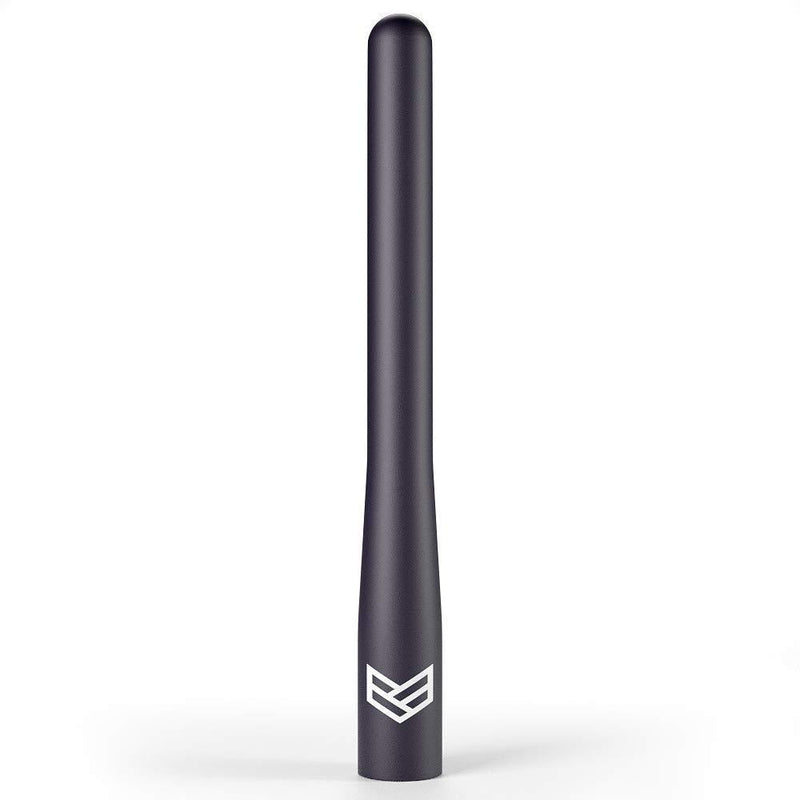
RONIN FACTORY Antenna fits Ford ...
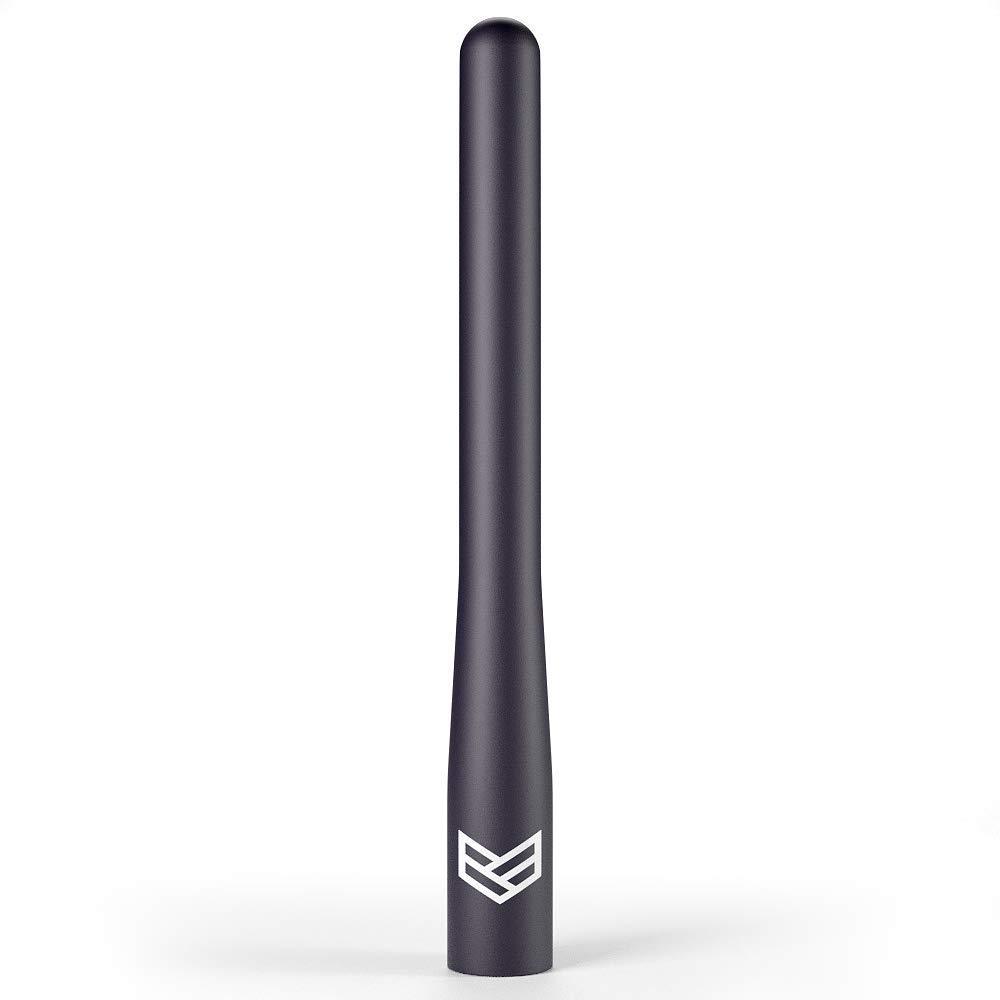
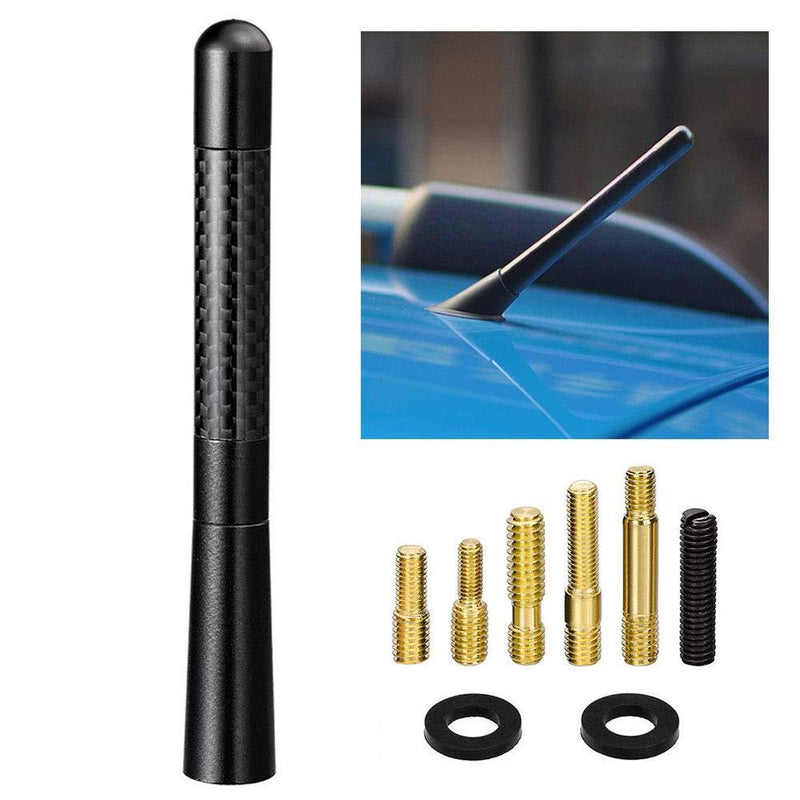
RONIN FACTORY Antenna fits Ford F150 F250 F350 Super Duty, Raptor & Dodge RAM Truck Short Antenna - Anti-Theft Design - 4 inch Long
$157.00 AUD
RONIN FACTORY Antenna fits Ford F150 F250 F350 Super Duty, Raptor & Dodge RAM Truck Short Antenna - Anti-Theft Design - 4 inch Long Want a quick, simple and inexpensive way to add a modern touch to your Ford or RAM truck? Look no further that the Ronin Factory short replacement antenna. We added thread locking compound, pre-applied so that o...
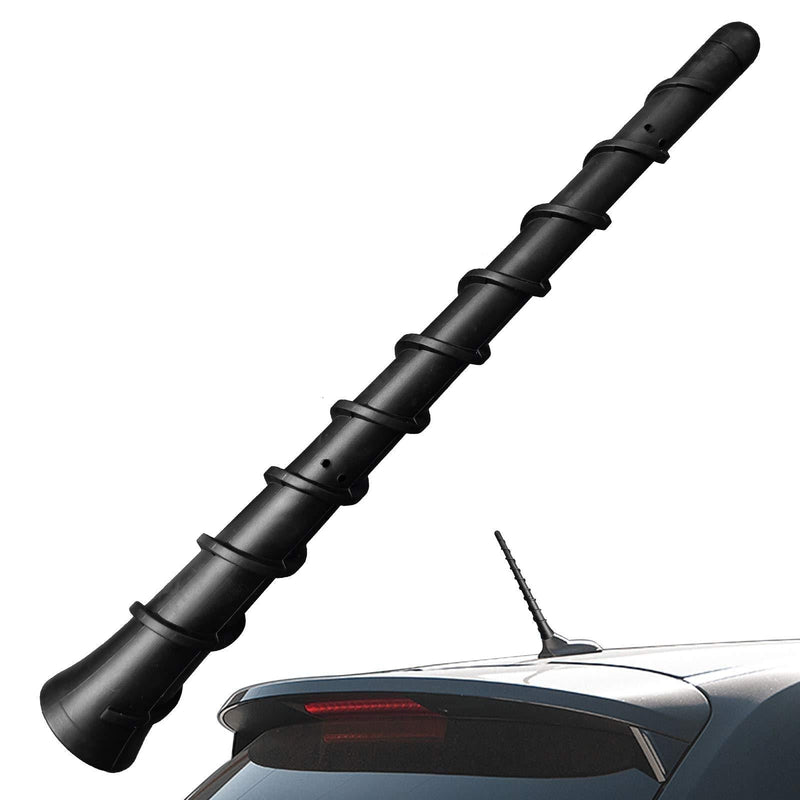
7 Inch Antenna for 2011-2019 Jee...

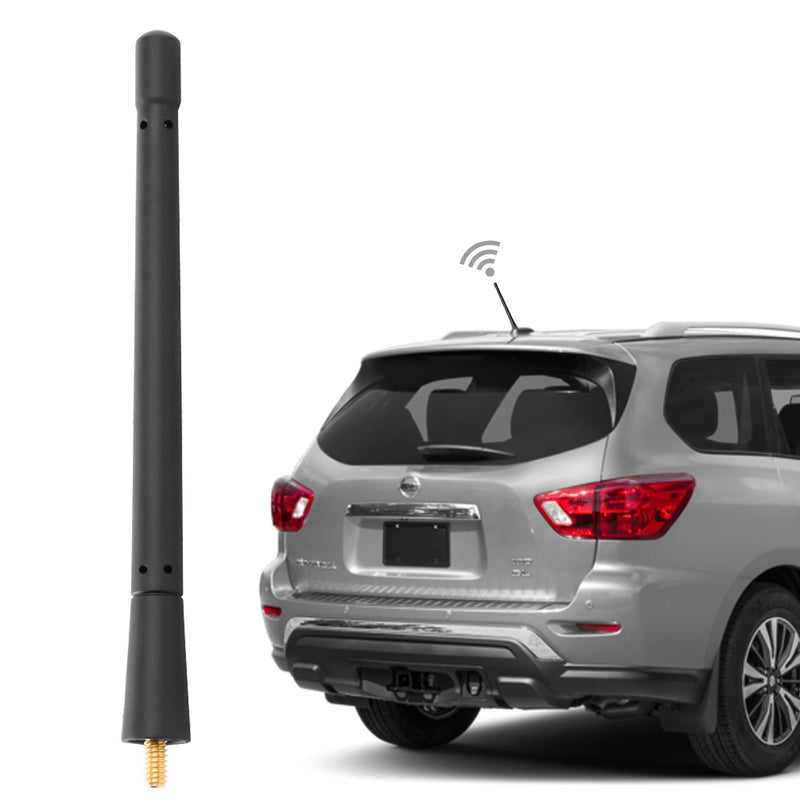
7 Inch Antenna for 2011-2019 Jeep Cherokee Grand Cherokee Dodge Durango Dart Journey Chrysler 200 | OEM 5091100AA 68297936AA 5091100AB
$126.00 AUD
7 Inch Antenna for 2011-2019 Jeep Cherokee Grand Cherokee Dodge Durango Dart Journey Chrysler 200 | OEM 5091100AA 68297936AA 5091100AB Read more This is a SAE straight thread antenna for car radio to receive AM/FM frequency, it not only has a beautiful appearance to decorate your car, but also has excellent signal reception and transmission of t...

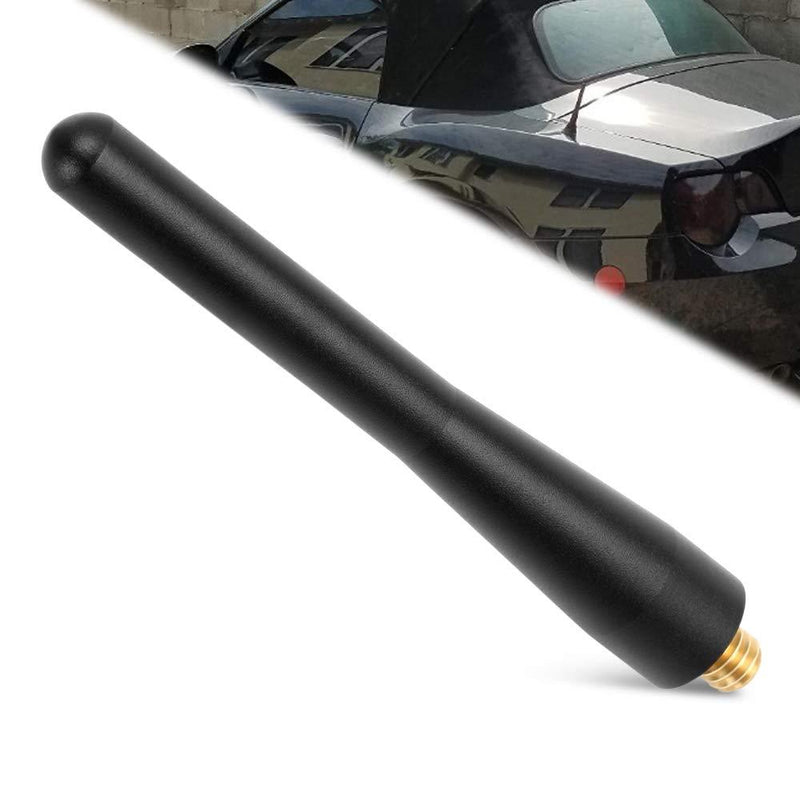
Black 7 inch Direct Replacement ...

Black 7 inch Direct Replacement Short Thread Screw Type Radio Antenna MAST fits Subaru Forester,Impreza WRX STI,WRX
$129.00 AUD
Black 7 inch Direct Replacement Short Thread Screw Type Radio Antenna MAST fits Subaru Forester,Impreza WRX STI,WRX IT'S TIME TO replacement your stock/broken antenna mast. Easy installation, no modification required. Material: high quality rubber. Compatible : 1998-2018 SUBARU FORESTER 2008-2018 SUBARU IMPREZA 2008-2016 SUBARU IMPREZA WRX 2008-...
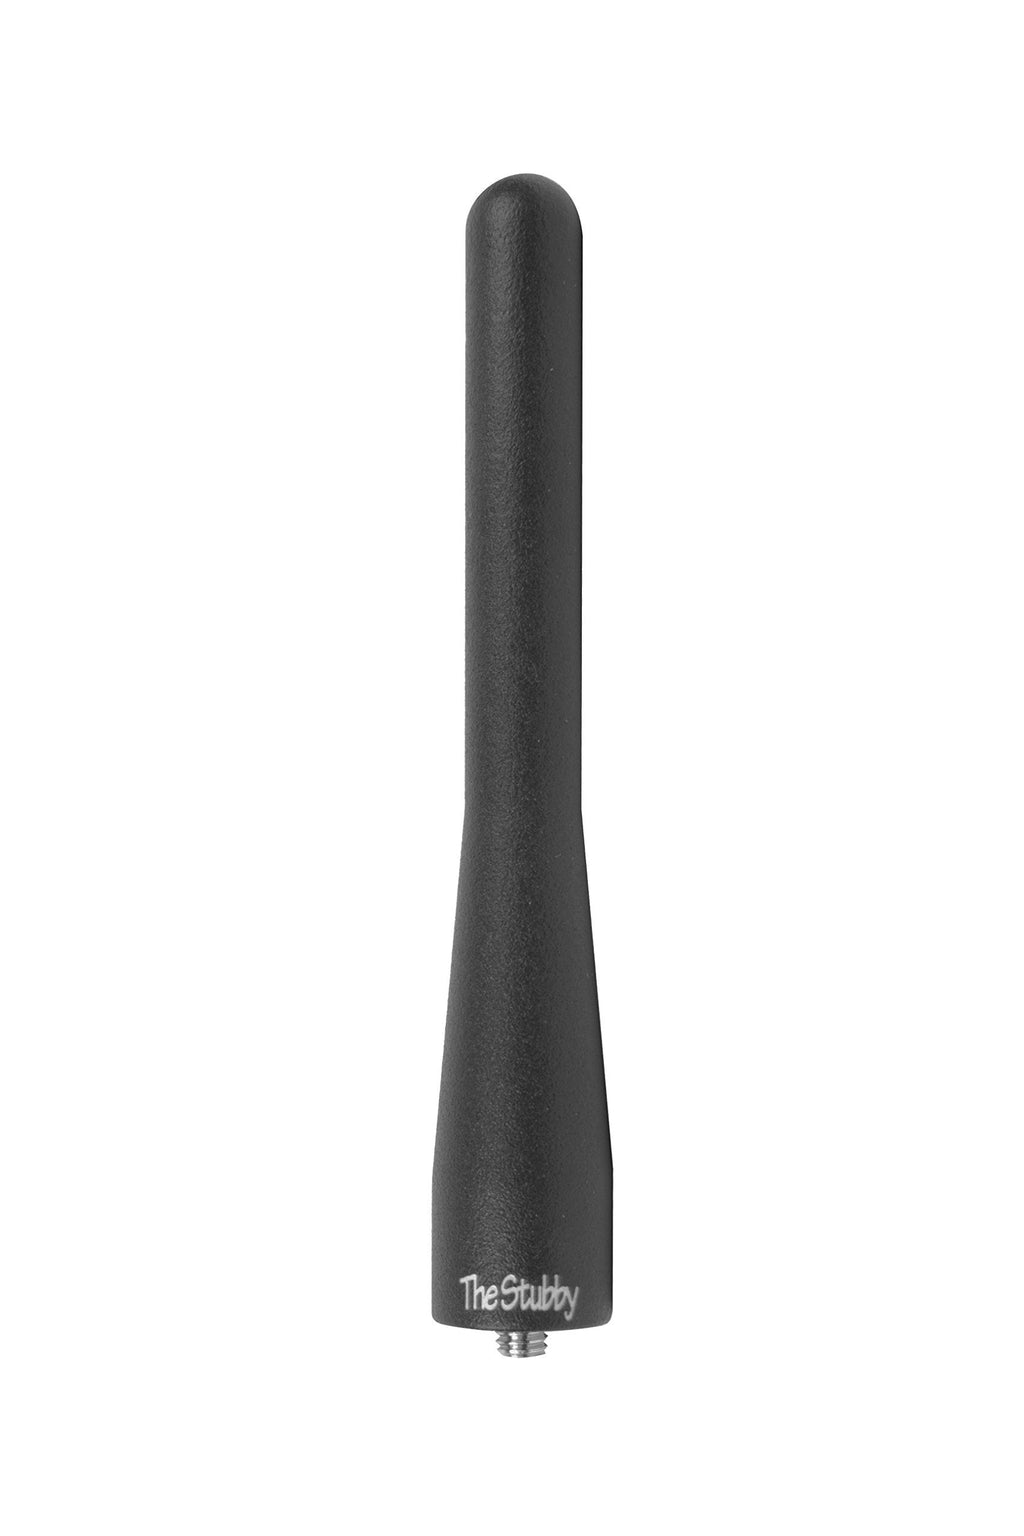
Stubby Antenna Compatible fit fo...

Stubby Antenna Compatible fit for BMW Z3 Z4 1995-2016+ | 4 Inches Short Antenna Mast Replacement Accessories
$95.00 AUD
Stubby Antenna Compatible fit for BMW Z3 Z4 1995-2016+ | 4 Inches Short Antenna Mast Replacement Accessories Great Looking Antenna for your car No More Hitting Garage Door with your Antenna! Gives you that sporty off road look.Adding style to your ride and it is also very functional. AM stations may not work wel...
CBK DIY Car AUX In Input...
CBK DIY Car AUX In Input Female Jack Interface Adapter Cable for Mazda 3 6 MX-5 RX8
$83.00 AUD
CBK DIY Car AUX In Input Female Jack Interface Adapter Cable for Mazda 3 6 MX-5 RX8 Fitment: Mazda 3 / 6 / RX8 / MX-5 2006+ Besturn B70 This is a Plug and Play cable that provides You a CD Quality Sound! You will need to drill a small hole, install a cable and save OEM look! This product is super high-quality wire rod production, ...

ZHParty 3.6 inch Short Antenna M...

ZHParty 3.6 inch Short Antenna Mast Replacement for GM Ford Chevrolet GMC Buick Cadillac Lincoln
$107.00 AUD
ZHParty 3.6 inch Short Antenna Mast Replacement for GM Ford Chevrolet GMC Buick Cadillac Lincoln Perfect Replacement Short Antenna for GM FORD CHEV-ROLET GMC BUICK CADILLAC LINCOLN Quick and Easy Install. We offer 18 Months Warranty. Wide Compatibility: FORD Ford Explorer 2011–2018 Ford Edge 2008–2018 Ford Escape 2013–2018 Ford C-MAX 2013–2017 F...

Bluetooth AMI MDI 4.0 Aux Input...
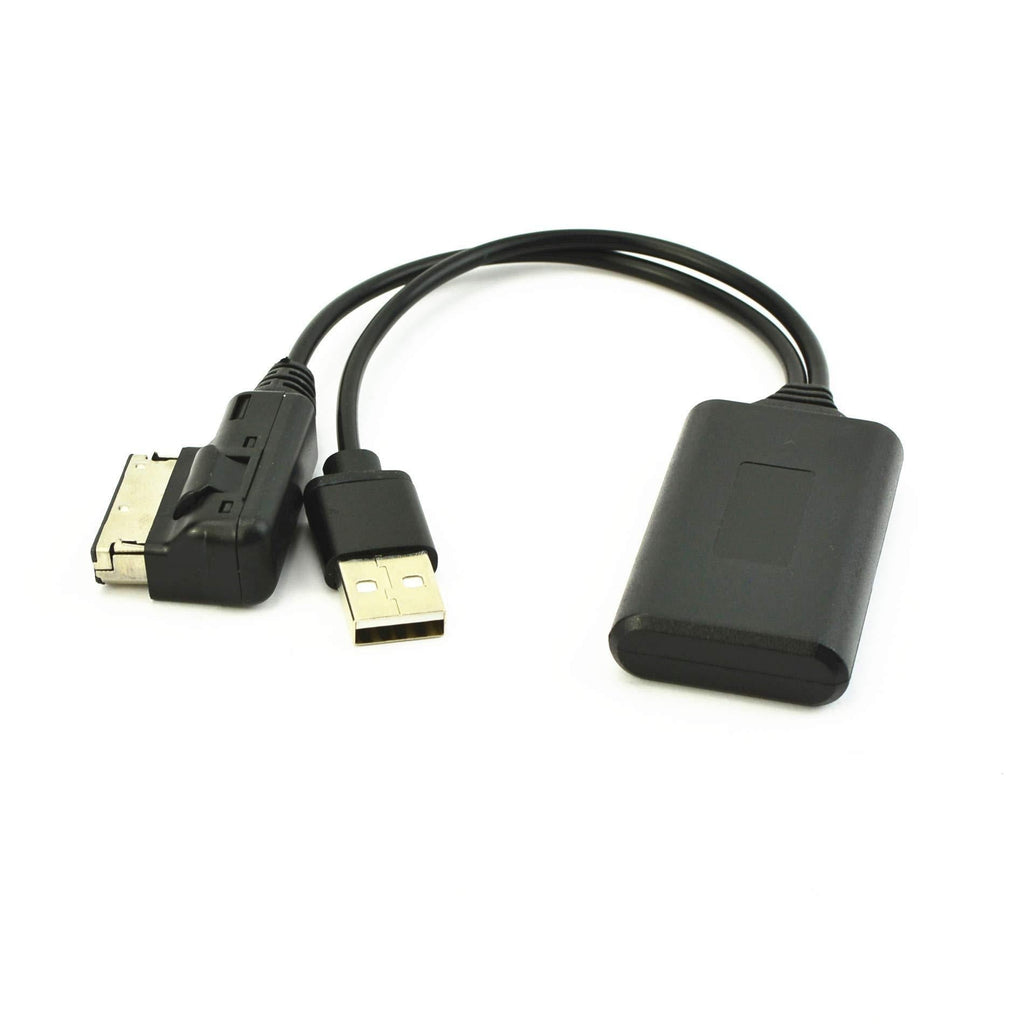
Bluetooth AMI MDI 4.0 Aux Input Adapters Music Interface MP3 Cable Compatible with A5 8T A6 4F A8 4E Q7 7L with AMI MMI 2G
$131.00 AUD
Bluetooth AMI MDI 4.0 Aux Input Adapters Music Interface MP3 Cable Compatible with A5 8T A6 4F A8 4E Q7 7L with AMI MMI 2G How to install the cable: 1.AMI Music Interface) or MDI (Media IN Interface) must be present in MMi switch to "Media" 2.Switch source to "AUX" 3.Connect adapter cable to AMI or MDI instead of Pod or cable 4.Connect power to ...
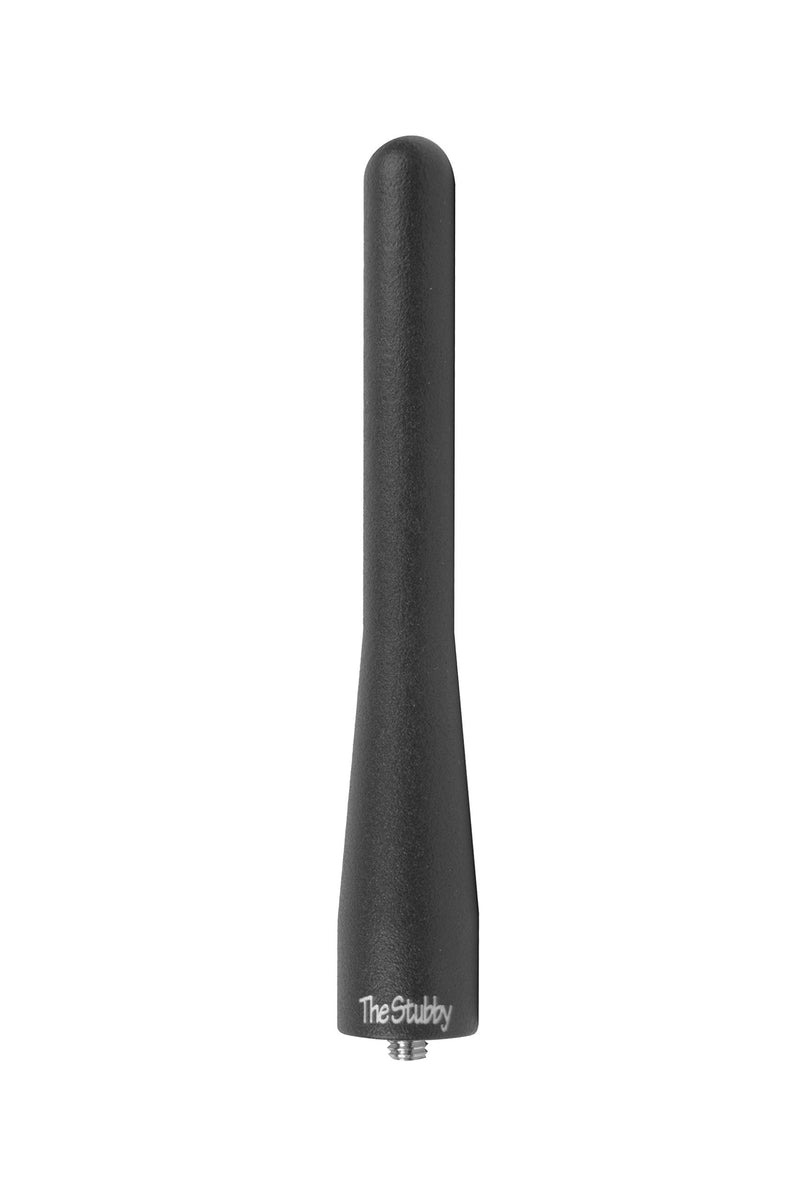
CravenSpeed Stubby Antenna Repla...
CravenSpeed Stubby Antenna Replacement for Ford Ranger 2019-2021 | 4 Inches
$142.00 AUD
CravenSpeed Stubby Antenna Replacement for Ford Ranger 2019-2021 | 4 Inches No more worrying about your OEM Antenna breaking off in the car wash or garage. The Stubby Antenna is just 4" tall and built from billet 6061 aluminum. The texture is powder coat baked on so it won't chip fade or peel. This rigid antenna replacement will not affect any s...
Bingfu Vehicle Roof Mount Antenn...

Bingfu Vehicle Roof Mount Antenna Mast 4.7 inch Carbon Fiber Car Antenna Replacement for Jeep Grand Cherokee Patriot Compass Liberty Cherokee Renegade Dodge Journey Avenger Nitro Dart Durango
$85.00 AUD
Bingfu Vehicle Roof Mount Antenna Mast 4.7 inch Carbon Fiber Car Antenna Replacement for Jeep Grand Cherokee Patriot Compass Liberty Cherokee Renegade Dodge Journey Avenger Nitro Dart Durango Vehicle Antenna Mast Carbon Fiber Car Antenna Replacement; Material: Aluminium Alloy & Carbon Fiber; Color: Black; Weight: 70g / 2.4 ounces; Dimensions...
7 Inch Flexible Rubber Antenna F...
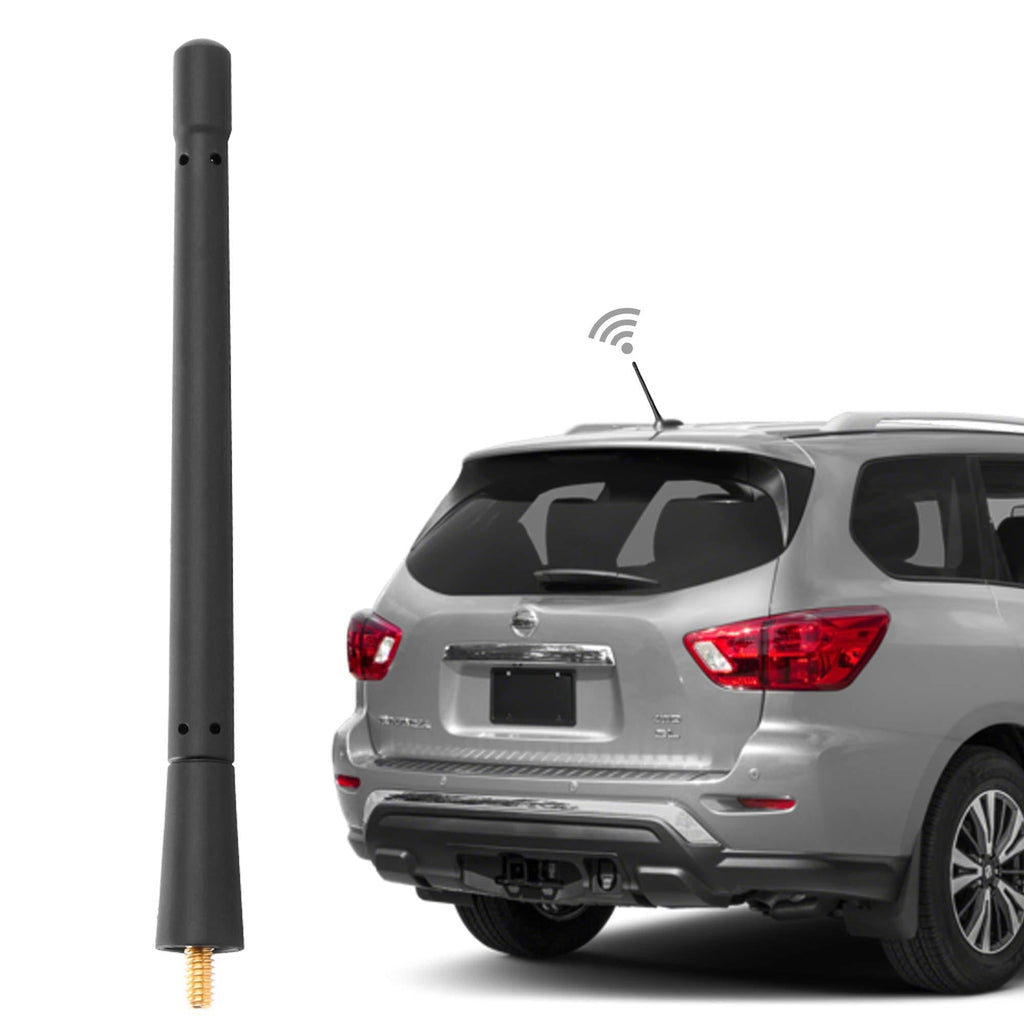
7 Inch Flexible Rubber Antenna Fits for Nissan 350z Rogue Pathfinder Versa Note Versa Sedan Cube Leaf Navara NP300 OEM: 28215-8H700/28215JG40B/282151FC0A/282158H700/CRCH-0035-TI.
$120.00 AUD
7 Inch Flexible Rubber Antenna Fits for Nissan 350z Rogue Pathfinder Versa Note Versa Sedan Cube Leaf Navara NP300 OEM: 28215-8H700/28215JG40B/282151FC0A/282158H700/CRCH-0035-TI. KSaAuto is an auto parts factory focusing on antennas and lights for more than 10 years. KSaAuto antennas have featured distinct designs and ease-of-use coupled with hi...

Bestaoo Antenna for 2007-2021 Je...

Bestaoo Antenna for 2007-2021 Jeep Wrangler JK JKU JL JLU Gladiator JT, 6.3" Short Car Radio Antenna, Replacement AM FM Radio Signal Reception
$119.00 AUD
Bestaoo Antenna for 2007-2021 Jeep Wrangler JK JKU JL JLU Gladiator JT, 6.3" Short Car Radio Antenna, Replacement AM FM Radio Signal Reception 6.3" Black Antenna in Heavy Gauge Billet Aluminum Replacement AM FM Radio Signal Reception fit for Jeep Wrangler JK & JL(2007-2021) | fit for Jeep Wrangler JL & JK Accessories Feature: ✔ Optimized...
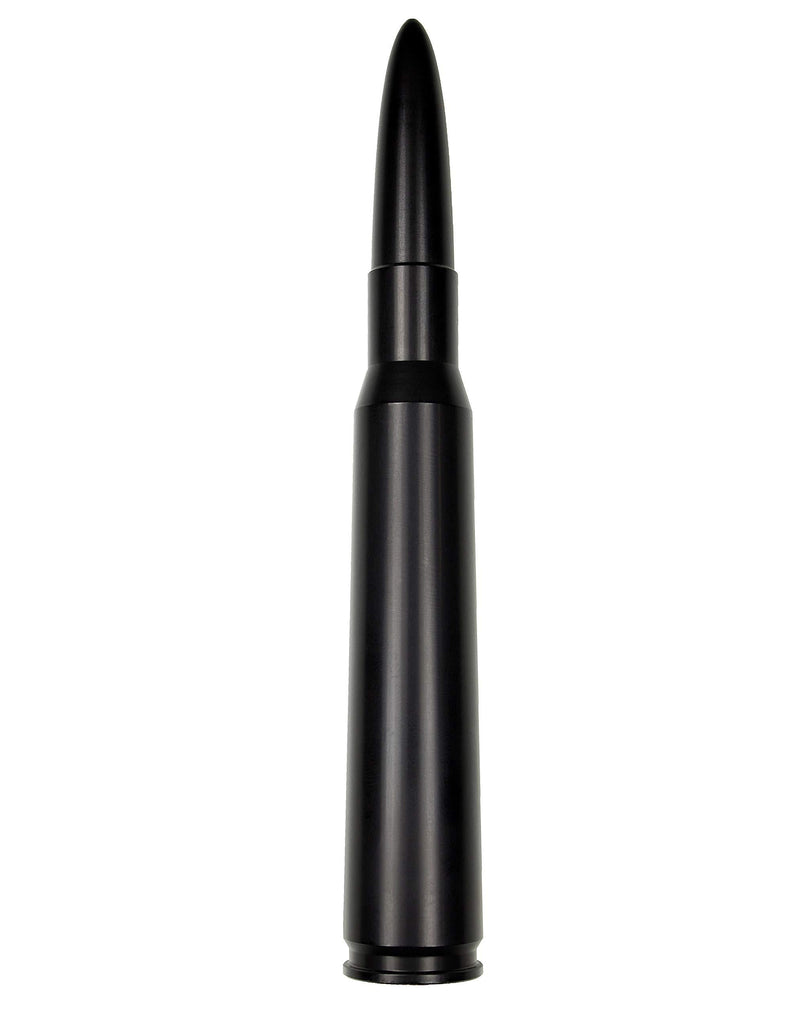
AntennaMastsRus - 50 Caliber Bul...
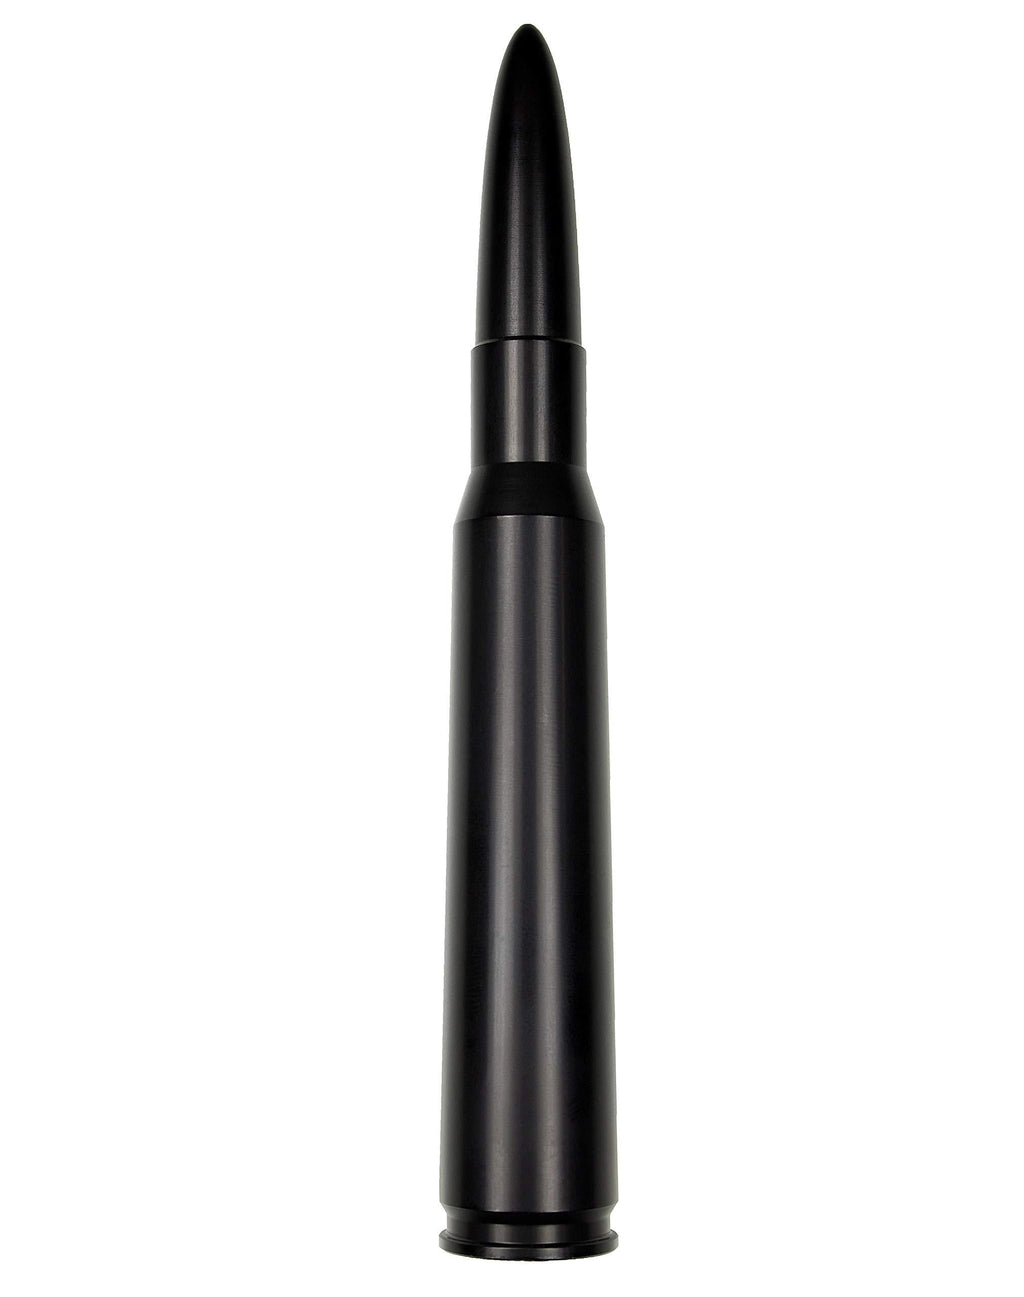
AntennaMastsRus - 50 Caliber Bullet Aluminum Antenna is Compatible with Chevrolet Silverado 1500 (2006-2021) 50 Cal Bullet Black
$157.00 AUD
AntennaMastsRus - 50 Caliber Bullet Aluminum Antenna is Compatible with Chevrolet Silverado 1500 (2006-2021) Size:50 Cal Bullet | Color:Black Your MAST Broken, Deteriorating, Stolen or Bent? Looking for an antenna to get rid of that obnoxiously tall un-stylish antenna your vehicle comes with? Looking for the BEST reception Short antenna on the m...
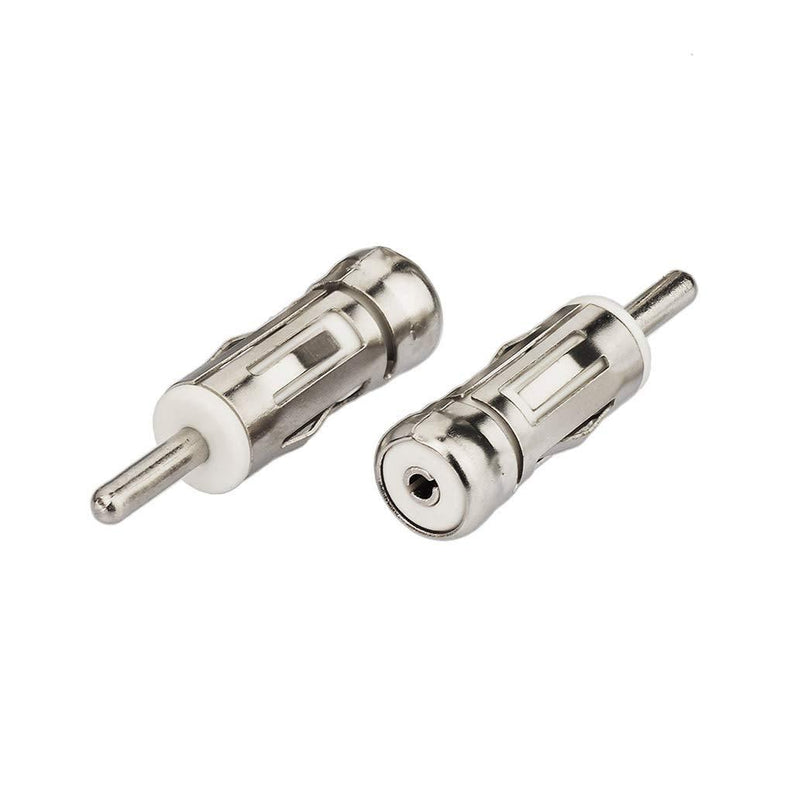
Bingfu Car Antenna Adapter Unive...
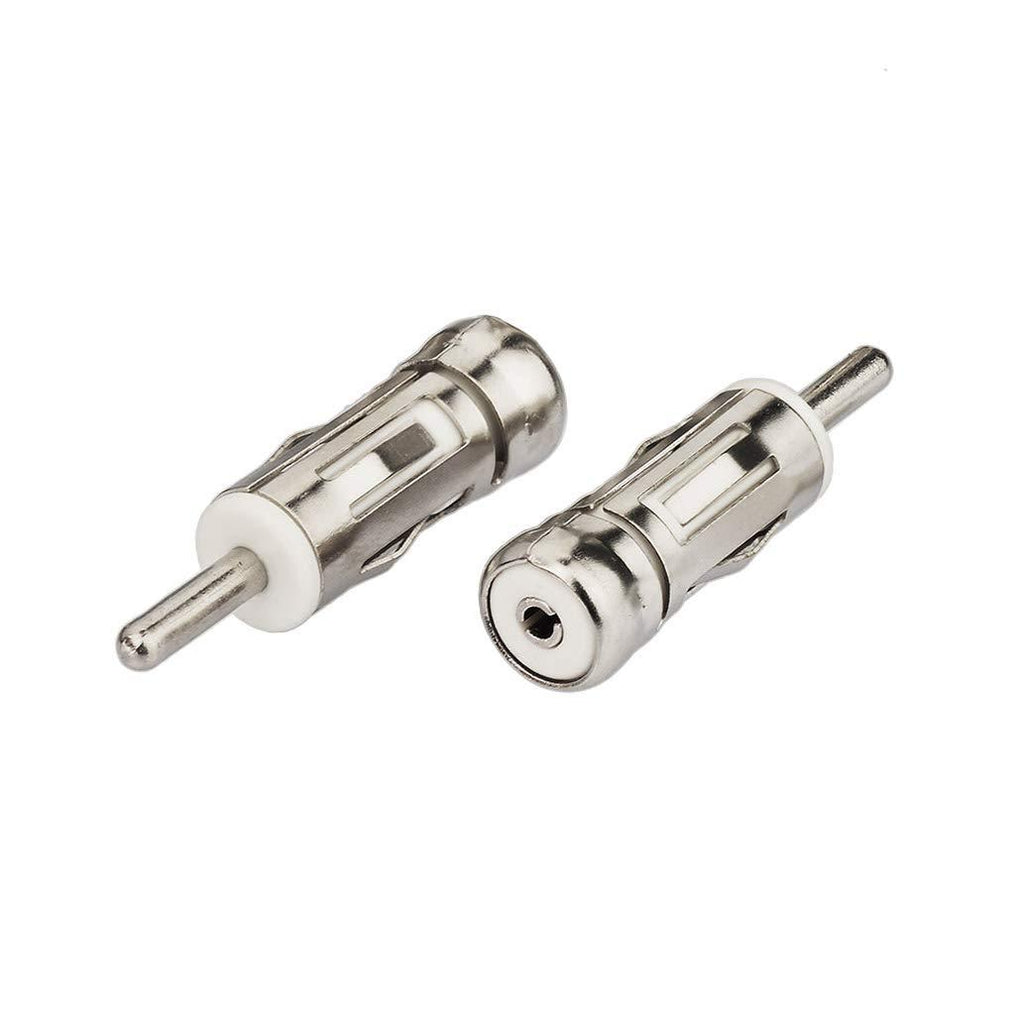
Bingfu Car Antenna Adapter Universal Car Stereo FM AM Radio Antenna Adapter Connector ISO to DIN Plug Connector (2-Pack) for Volkswagen Audi VW Skoda Vehicle Car Audio Radio Head Unit Stereo Receiver
$79.00 AUD
Bingfu Car Antenna Adapter Universal Car Stereo FM AM Radio Antenna Adapter Connector ISO to DIN Plug Connector (2-Pack) for Volkswagen Audi VW Skoda Vehicle Car Audio Radio Head Unit Stereo Receiver Specifications: Compatible with: Car Stereo Radio Antenna Adapter Connector Feature: Converter for Car Stereo Head Unit Radio Antenna Interface Con...